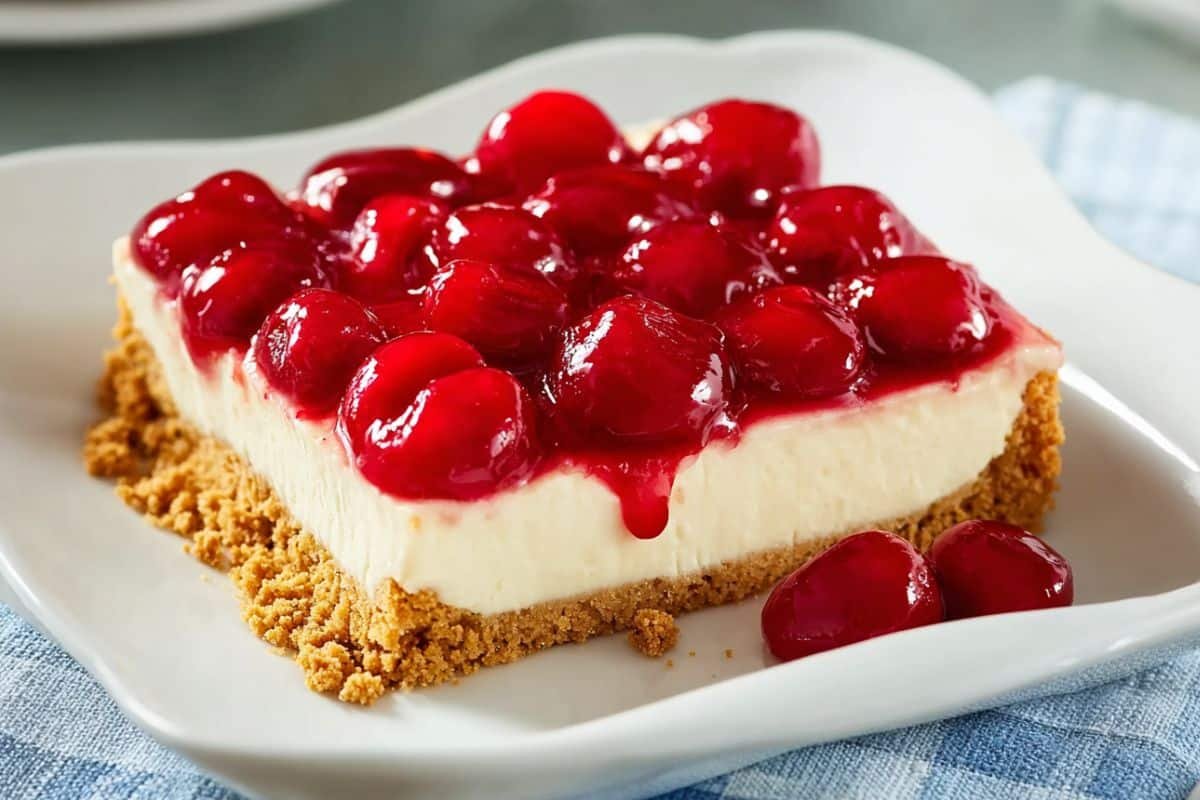
Best No‑Bake Cherry Cheesecake is the ultimate dessert when you want something creamy, fruity, and utterly satisfying without firing up the oven. This delightfully smooth cheesecake relies on chilled ingredients, simple mixing, and a bit of patience in the refrigerator. In just a few straightforward steps, you’ll transform a graham cracker crust and a silky cream cheese filling into a showstopper dessert crowned with juicy cherry topping. Perfect for summer gatherings, potlucks, or anytime you crave a luscious sweet treat with minimal fuss.
Why You’ll Love This Recipe
You’ll love this Best No‑Bake Cherry Cheesecake because it’s:
-
Effortless — no baking, no mess, no special equipment
-
Customizable — swap cherry filling for your favorite fruit (blueberry, strawberry, etc.)
-
Light yet indulgent — whipped cream gives it cloudlike texture
-
Make‑ahead friendly — you can assemble ahead and chill
-
Crowd-pleasing — perfect for parties, dinners, or celebrations
Ingredients
Graham Cracker Crust
-
1 ¼ cups graham cracker crumbs
-
¼ cup unsalted butter, melted
-
¼ cup white sugar
Filling
-
1 (8 ounce) package cream cheese, softened
-
1 cup powdered sugar
-
1 teaspoon vanilla extract
-
1 cup heavy whipping cream
-
1 (12.5 ounce) can cherry pie filling (or alternative fruit filling)
Step‑by‑Step: How to Make Best No‑Bake Cherry Cheesecake
-
Gather all ingredients. Ensure cream cheese is softened (room temperature) and the heavy cream is cold.
-
Make the crust:
-
In a mixing bowl, combine the graham cracker crumbs, melted butter, and white sugar.
-
Stir until the crumbs are evenly moistened and the mixture resembles damp sand.
-
Press the mixture firmly into a 9‑inch pie plate, pressing it up the sides slightly to form a shell. Press down evenly using the base of a glass or a measuring cup to create a smooth, compact crust.
-
-
Prepare the cheesecake filling:
-
In a separate bowl, beat the softened cream cheese, powdered sugar, and vanilla extract with an electric mixer until smooth and creamy.
-
In another chilled bowl, whip the heavy cream until soft peaks form (when you lift the beater, the peaks gently flop over).
-
Gently fold the whipped cream into the cream cheese mixture until no streaks remain, keeping the mix light and airy.
-
-
Assemble and chill:
-
Pour the filling into the prepared crust and smooth the top with a spatula.
-
Refrigerate for 2 to 3 hours, or until the cheesecake is firm.
-
-
Top with cherry filling:
-
Once the cheesecake is set, spread the cherry pie filling over the top evenly.
-
You can serve it right away or keep it chilled in the refrigerator until it’s time to enjoy.
-
Helpful Tips

-
Chill your mixing bowls and beaters before whipping the cream — helps to reach proper peaks faster.
-
Use full‑fat cream cheese for best texture; low-fat may lead to looseness.
-
Don’t over‑fold the whipped cream — fold gently to maintain volume.
-
If your crust seems loose, freeze it for 10 minutes before filling to help it set.
-
For cleaner slices, wipe your knife between cuts (dip knife in hot water, dry, slice again).
Substitutions And Variations
-
Crust alternative: Use crushed digestive biscuits, Oreo crumbs (with melted butter), or even nut‑based crust (almond or pecan).
-
Filling swaps: Replace cherry pie filling with blueberry, strawberry, raspberry, or mixed berry filling.
-
Fruit layer alternative: Use fresh fruit compote or jam thinned slightly.
-
Flavor variations: Add 2 tablespoons of lemon juice or zest into the cream cheese mix for brightness; or fold in chocolate shavings, or swirl melted chocolate or caramel before chilling.
-
Vegan version: Use vegan cream cheese, coconut cream whipped, and plant-based crust (like oats + nut butter + sweetener).
Storage Instructions
-
Cover the cheesecake with plastic wrap or place in an airtight container and store in the refrigerator for up to 3–4 days.
-
For longer storage, you can freeze slices (wrap individually) for up to 1 month; thaw in refrigerator before serving.
-
Avoid leaving it at room temperature for more than 2 hours (due to the dairy).
Nutritional Information
Approximate per serving (assuming 8 slices):
-
Calories: 445
-
Total Fat: 28 g
-
Saturated Fat: 17 g
-
Cholesterol: 87 mg
-
Sodium: 183 mg
-
Total Carbohydrates: 46 g
-
Dietary Fiber: 1 g
-
Protein: 4 g
-
Vitamin C: 2 mg
-
Calcium: 52 mg
-
Iron: 1 mg
-
Potassium: 123 mg
(Note: values approximate and can vary depending on brands and portion size.)
Serving Suggestions
-
Serve with a dollop of extra whipped cream or a sprinkle of graham cracker crumbs.
-
Pair with fresh berries or mint leaves for garnish.
-
Serve chilled in dessert plates, perhaps alongside fresh fruit salad or a scoop of vanilla ice cream.
-
For special occasions, drizzle melted chocolate or cherry glaze just before serving.
Frequently Asked Questions About Best No‑Bake Cherry Cheesecake
Q: Can I substitute the cherry pie filling with something else?
A: Absolutely! You can replace the cherry pie filling with any fruit topping you like — strawberry, blueberry, raspberry, or even mixed berry jams or compotes. Just ensure the topping is not too runny, or it may seep into the cheesecake.
Q: Why didn’t my cheesecake set firm?
A: Common causes are under‑chilling (not enough time in the refrigerator) or under‑whipped cream. Make sure your cream reaches soft peaks, and let it chill for at least 2–3 hours (or overnight for extra firmness). Also ensure you use full‑fat cream cheese.
Q: Can I make this ahead of time?
A: Yes. You can assemble the cheesecake (crust + filling) a day ahead and keep it chilled. Add the cherry topping just before serving to prevent sogginess.
Q: Can I freeze leftovers?
A: Yes. You may freeze individual slices wrapped well for up to one month. Thaw in refrigerator before serving. The texture might soften slightly, but still enjoyable.
Q: Can I reduce sugar or use alternative sweeteners?
A: You can reduce the powdered sugar slightly (e.g. by ¼ cup), but note sweetness and structure may change. If using sugar substitutes, pick ones suitable for whipped and cream textures and test small batch first.
Q: How do I slice clean pieces?
A: Use a sharp knife dipped in hot water and wiped dry between cuts. This helps give clean, smooth slices without dragging.
Conclusion
I hope you enjoy making this Best No‑Bake Cherry Cheesecake as much as I do. It’s one of those desserts that feels luxurious without being laborious, and the burst of cherry flavor on top adds just the right touch of sweetness and color. Thank you for trusting me with your kitchen adventures — it warms my heart to think of you savoring each creamy bite. Wishing you delightful moments with this dessert, and may it become a favorite in your recipe collection. Happy cooking and enjoy every slice!
Print
Best No‑Bake Cherry Cheesecake
- Prep Time: 15 minutes
- Cook Time: 0 minutes
- Total Time: 2 hours 15 minutes (includes chilling)
- Yield: 8 servings 1x
- Category: Dessert
Description
This Best No-Bake Cherry Cheesecake is smooth, creamy, and effortless—no oven required! With a graham cracker crust, whipped cream cheese filling, and sweet cherry topping, it’s a make-ahead dessert that’s always a hit.
Ingredients
1 ¼ cups graham cracker crumbs
¼ cup unsalted butter, melted
¼ cup white sugar
1 (8 oz) package cream cheese, softened
1 cup powdered sugar
1 tsp vanilla extract
1 cup heavy whipping cream
1 (12.5 oz) can cherry pie filling
Instructions
-
Gather all ingredients. Ensure cream cheese is softened (room temperature) and the heavy cream is cold.
-
Make the crust:
-
In a mixing bowl, combine the graham cracker crumbs, melted butter, and white sugar.
-
Stir until the crumbs are evenly moistened and the mixture resembles damp sand.
-
Press the mixture firmly into a 9‑inch pie plate, pressing it up the sides slightly to form a shell. Press down evenly using the base of a glass or a measuring cup to create a smooth, compact crust.
-
-
Prepare the cheesecake filling:
-
In a separate bowl, beat the softened cream cheese, powdered sugar, and vanilla extract with an electric mixer until smooth and creamy.
-
In another chilled bowl, whip the heavy cream until soft peaks form (when you lift the beater, the peaks gently flop over).
-
Gently fold the whipped cream into the cream cheese mixture until no streaks remain, keeping the mix light and airy.
-
-
Assemble and chill:
-
Pour the filling into the prepared crust and smooth the top with a spatula.
-
Refrigerate for 2 to 3 hours, or until the cheesecake is firm.
-
-
Top with cherry filling:
-
Once the cheesecake is set, spread the cherry pie filling over the top evenly.
-
You can serve it right away or keep it chilled in the refrigerator until it’s time to enjoy.
-
Notes
Chill bowls and beaters for faster whipping. Use full-fat cream cheese for best texture. Top just before serving for freshness.
Nutrition
- Serving Size: 1 slice
- Calories: 445
- Sugar: 27g
- Carbohydrates: 46g
- Protein: 4g


