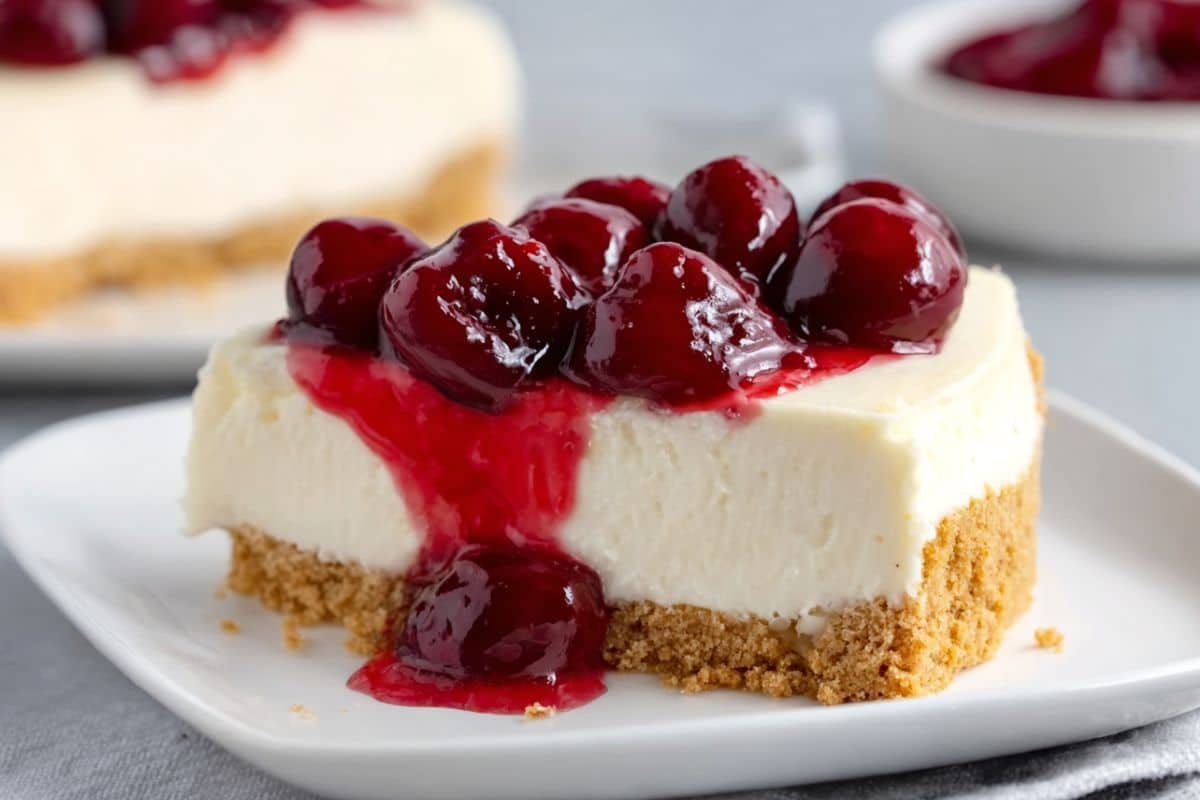
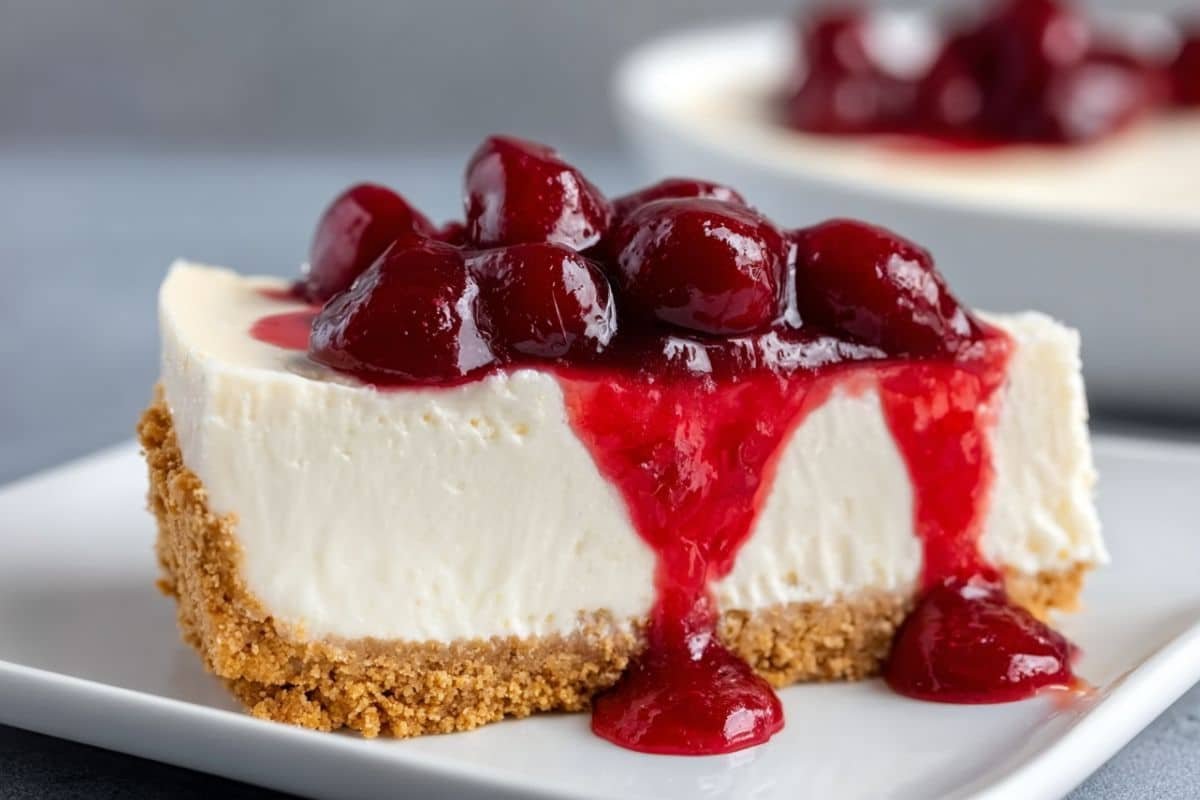
Easy No-Bake Cheesecake Recipe is the perfect dessert for when you want something rich, creamy, and indulgent without ever turning on the oven. With just a handful of simple ingredients and minimal prep time, this cheesecake delivers big flavor with zero baking stress. The buttery graham cracker crust pairs beautifully with the smooth cream cheese filling, and you can top it with anything from fresh fruit to chocolate drizzle. Whether you’re hosting a dinner party, bringing a treat to a potluck, or just craving a sweet pick-me-up, this recipe is foolproof, refreshing, and loved by both novice and seasoned bakers alike.
Why You’ll Love This Easy No-Bake Cheesecake Recipe
There’s a reason this cheesecake has become a go-to dessert for so many home cooks—it’s quick, customizable, and consistently delicious. No oven? No problem. This recipe uses a chilled set method, meaning you can whip it up in advance and have a stunning dessert ready to serve later. The creamy, tangy filling balances perfectly with the sweet crust, and the topping options are endless. Plus, it’s a crowd-pleaser that works for any season or occasion.
Ingredients
For the crust:
1 ¼ cups finely crushed graham cracker crumbs (about 10 full sheets)
⅓ cup unsalted butter, melted
¼ cup granulated sugar (slightly less if you prefer)
For the filling:
8 oz Philadelphia cream cheese, softened
14 oz can sweetened condensed milk (Eagle Brand recommended)
⅓ cup freshly squeezed lemon juice
1 tsp pure vanilla extract
For the topping (optional):
20 oz can cherry pie filling, or fresh fruit of choice
Step-by-Step: How to Make Easy No-Bake Cheesecake
1. Prepare the crust
In a large mixing bowl, stir together graham cracker crumbs, melted butter, and sugar until fully combined.
Press the mixture firmly into the bottom and up the sides of a 9-inch pie dish, using your fingertips or the back of a spoon to create an even crust.
2. Make the filling
With a stand or hand mixer, whip the softened cream cheese until it’s light and fluffy.
Gradually pour in the sweetened condensed milk in a slow, steady stream, blending until smooth.
Pause occasionally to scrape down the sides of the bowl to ensure everything is well incorporated.
3. Add flavor and assemble
Lemon juice not only adds a hint of brightness but also helps the cheesecake set properly.
Mix in the lemon juice and vanilla extract until well combined.
Transfer the filling into the prepared crust and use a spatula to smooth the top.
4. Chill the cheesecake
Place the cheesecake in the refrigerator and chill for at least 6–8 hours, preferably overnight, for the best texture.
5. Serve and enjoy
Enjoy it plain and chilled for a classic dessert, or add a drizzle of chocolate or caramel sauce for a decadent twist.
Helpful Tips

Chill thoroughly – The longer the cheesecake chills, the better the texture will be. Overnight chilling is ideal.
Soften cream cheese completely – This ensures a lump-free filling.
Don’t skip the lemon juice – It helps the filling set properly and balances sweetness.
Firm crust – Press the crust mixture down firmly to prevent crumbling when slicing.
Slice cleanly – Use a sharp knife dipped in hot water and wiped dry between cuts for perfect slices.
Substitutions And Variations
Crust alternatives – Swap graham crackers for Oreos, digestive biscuits, or vanilla wafers.
Dairy-free version – Use plant-based cream cheese and coconut condensed milk.
Flavor twist – Add 1 tsp almond extract or swirl in melted chocolate for a mocha cheesecake.
Mini cheesecakes – Use muffin tins with liners for individual servings.
Topping ideas – Blueberry sauce, caramel drizzle, crushed candy bars, or tropical fruit.
Storage Instructions
Refrigerator – Store covered in the fridge for up to 5 days.
Freezer – Wrap tightly and freeze for up to 1 month. Thaw overnight in the refrigerator before serving.
Make ahead – Prepare up to 2 days in advance without toppings; add toppings right before serving.
Nutritional Information (per slice, without topping)
Calories: 272 kcal
Carbohydrates: 30 g
Protein: 4 g
Fat: 15 g
Saturated Fat: 9 g
Cholesterol: 46 mg
Sodium: 205 mg
Potassium: 171 mg
Fiber: 1 g
Sugar: 25 g
Vitamin A: 500 IU
Vitamin C: 3 mg
Calcium: 121 mg
Iron: 1 mg
Serving Suggestions
Serve chilled on its own for a timeless treat.
Pair with a hot cup of coffee for a cozy afternoon indulgence.
Top with seasonal fruits for a vibrant presentation.
Add whipped cream and mint leaves for an elegant touch.
Layer with chocolate ganache for an extra indulgent twist.
Frequently Asked Questions About Easy No-Bake Cheesecake
1. How long does it take for no-bake cheesecake to set?
Typically, it needs at least 6–8 hours in the fridge, but chilling overnight produces the firmest, creamiest results.
2. Can I make this cheesecake without lemon juice?
You can, but it may not set as firmly. Lemon juice helps the filling thicken and adds a nice tang.
3. What’s the best cream cheese for cheesecake?
Full-fat cream cheese (like Philadelphia) gives the richest, creamiest texture. Avoid low-fat varieties, as they can make the filling runny.
4. Can I freeze no-bake cheesecake?
Yes. Wrap tightly and freeze for up to 1 month. Thaw in the fridge before serving.
5. How do I keep the crust from falling apart?
Make sure you press it down firmly and chill it before adding the filling. Using enough butter also helps bind the crumbs together.
Conclusion
Thank you for joining me in making this Easy No-Bake Cheesecake Recipe—one of my all-time favorite desserts. I love it because it’s both effortless and incredibly flavorful, with a creamy filling and a crust that holds together beautifully. Whether you dress it up with fresh fruit, go classic with cherry topping, or keep it plain, it’s always a crowd-pleaser. I hope you enjoy every slice as much as I do, and that it becomes a go-to recipe in your home. Happy no-baking, and thank you for being part of this delicious, food-loving community!
Print
Easy No-Bake Cheesecake Recipe
- Total Time: About 8 hours (including chilling)
- Yield: 8 servings 1x
Description
A creamy, smooth, and tangy Easy No-Bake Cheesecake Recipe with a buttery graham cracker crust. Perfect for any occasion and ready without turning on the oven.
Ingredients
For the crust:
1 ¼ cups graham cracker crumbs (about 10 full sheets)
⅓ cup unsalted butter, melted
¼ cup granulated sugar (slightly less if preferred)
For the filling:
8 oz Philadelphia cream cheese, softened
14 oz can Eagle Brand sweetened condensed milk
⅓ cup fresh lemon juice
1 tsp pure vanilla extract
For the topping (optional):
20 oz can cherry pie filling or fresh fruit
Instructions
In a large mixing bowl, stir together graham cracker crumbs, melted butter, and sugar until fully combined.
Press the mixture firmly into the bottom and up the sides of a 9-inch pie dish, using your fingertips or the back of a spoon to create an even crust.
With a stand or hand mixer, whip the softened cream cheese until it’s light and fluffy.
Gradually pour in the sweetened condensed milk in a slow, steady stream, blending until smooth.
Pause occasionally to scrape down the sides of the bowl to ensure everything is well incorporated.
Lemon juice not only adds a hint of brightness but also helps the cheesecake set properly.
Mix in the lemon juice and vanilla extract until well combined.
Transfer the filling into the prepared crust and use a spatula to smooth the top.
Place the cheesecake in the refrigerator and chill for at least 6–8 hours, preferably overnight, for the best texture.
Enjoy it plain and chilled for a classic dessert, or add a drizzle of chocolate or caramel sauce for a decadent twist.
Notes
Chill overnight for best texture.
Full-fat cream cheese works best for a firm set.
Lemon juice helps the filling set and adds a refreshing tang.
Can be frozen for up to 1 month.
- Prep Time: 20 minutes
- Cook Time: 0 minutes
Nutrition
- Serving Size: 1 slice
- Calories: 272 kcal
- Sugar: 25 g
- Carbohydrates: 30 g
- Protein: 4 g

